CONNECTICUT FULL SERVICE PRINTING COMPANY SINCE 1911
Committed to Customer Service and High-Quality Printing Services
Cannelli Printing is a full service CT printing company that has been producing high-quality printing for over 100 years. As a third generation, family owned and operated business, we take pride in what we do and we value the trust of our customers.
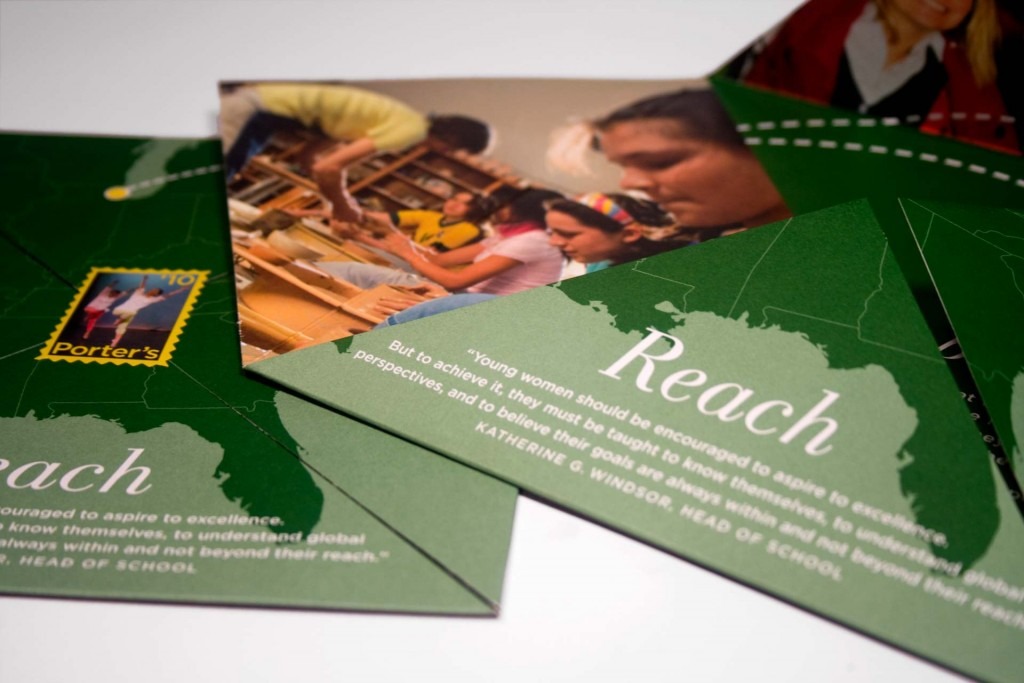
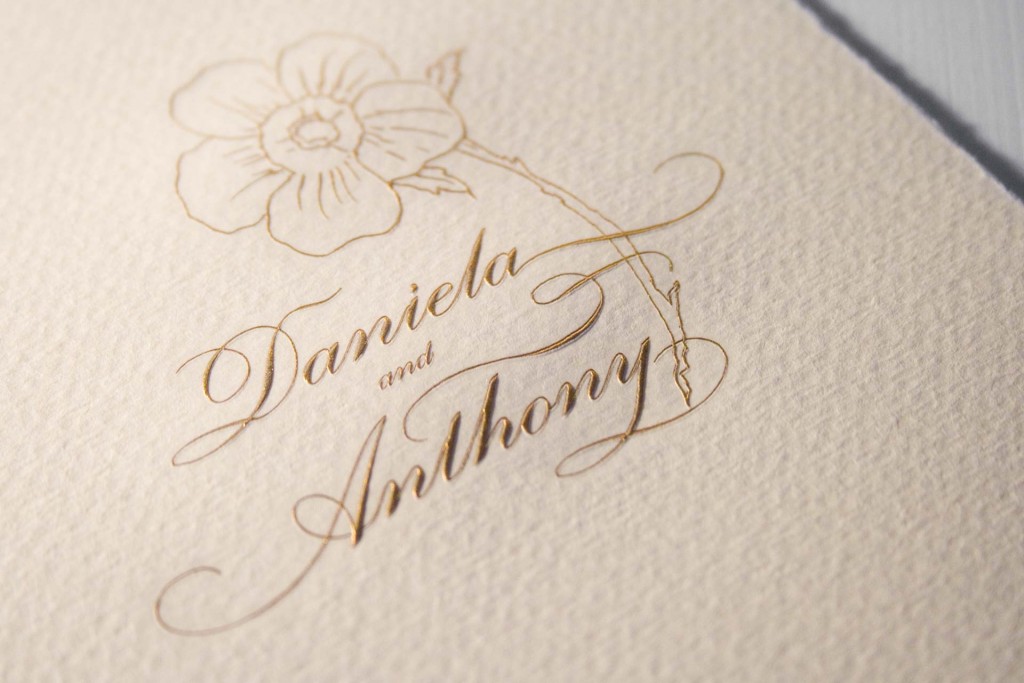
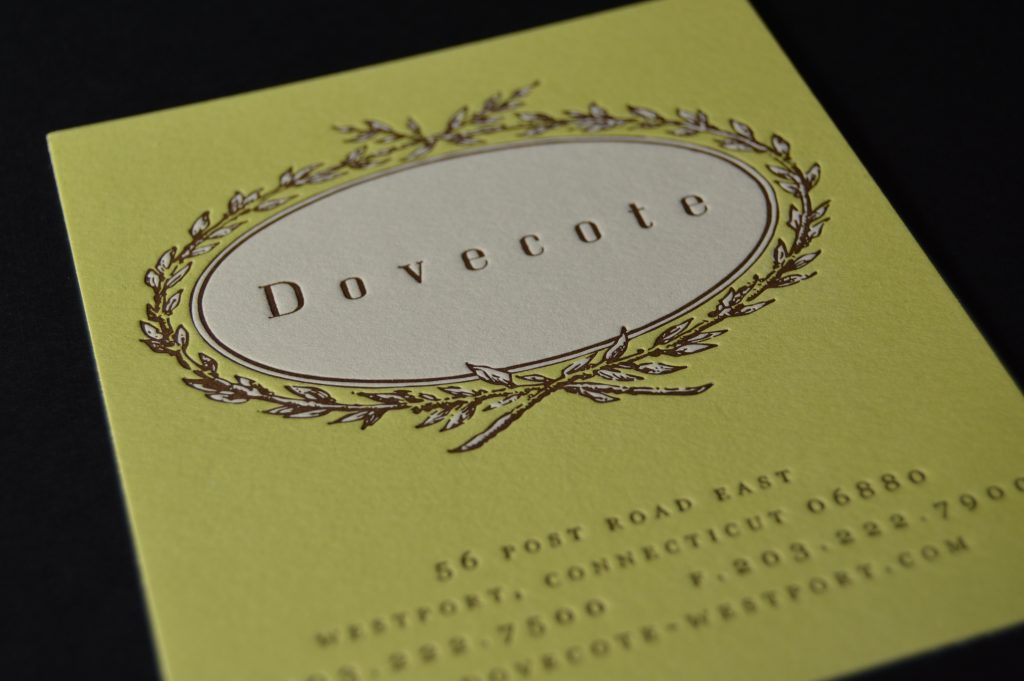
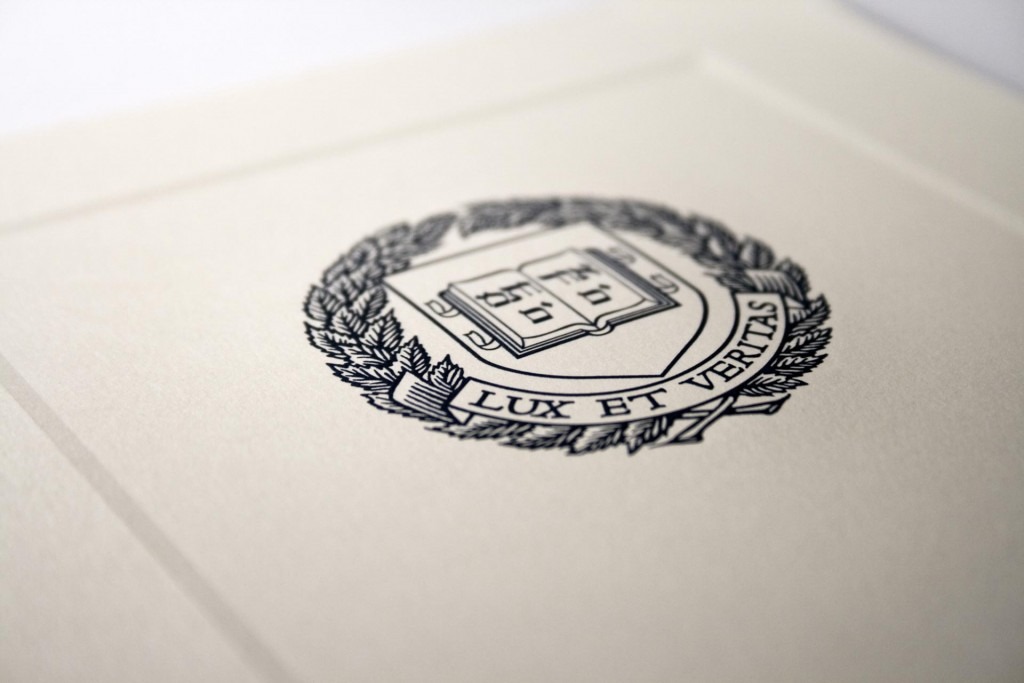
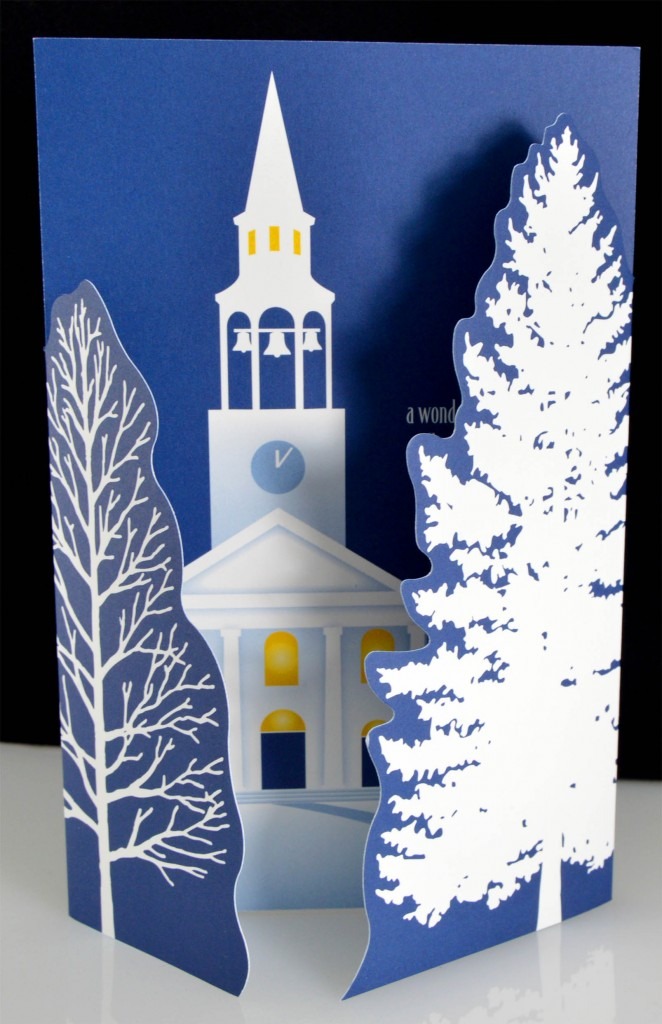
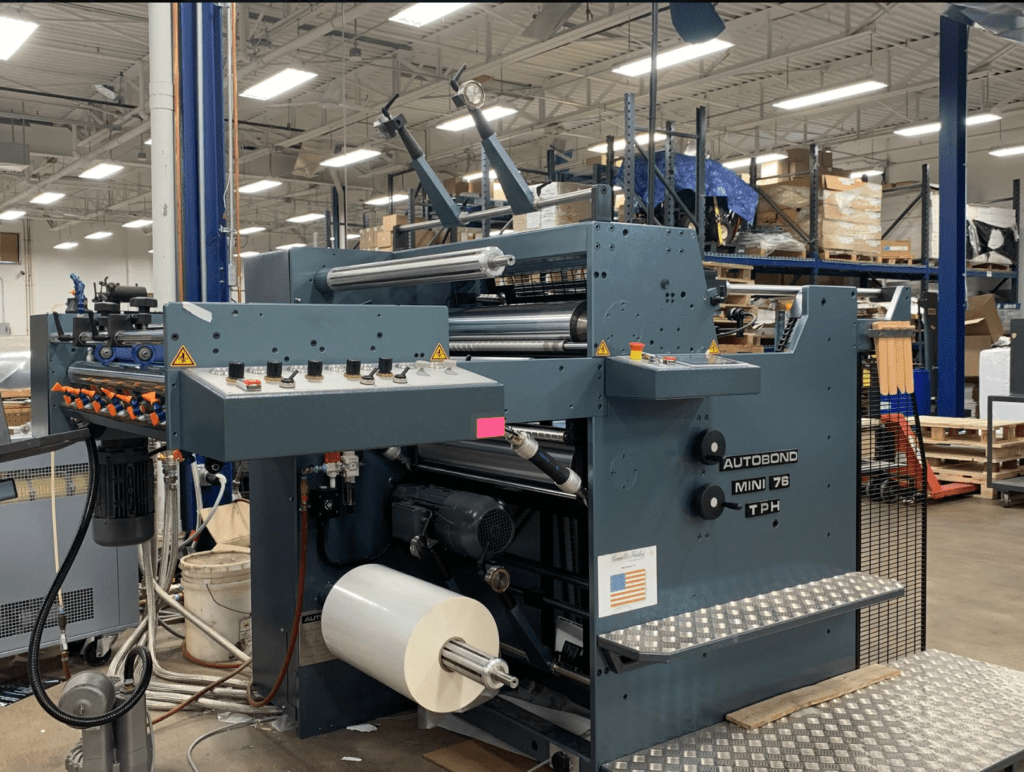
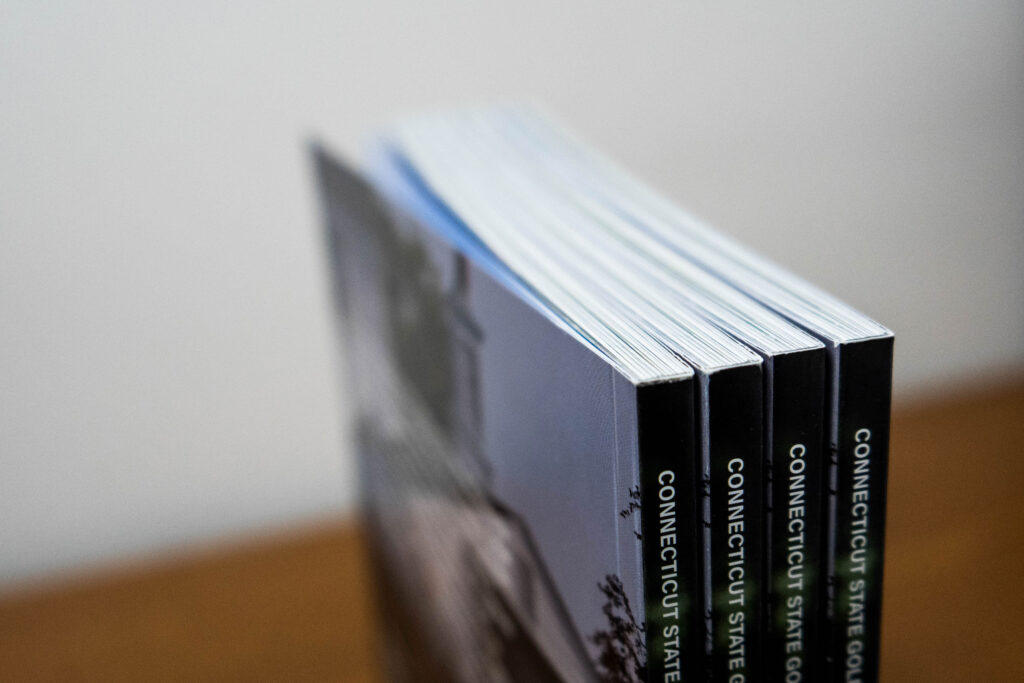
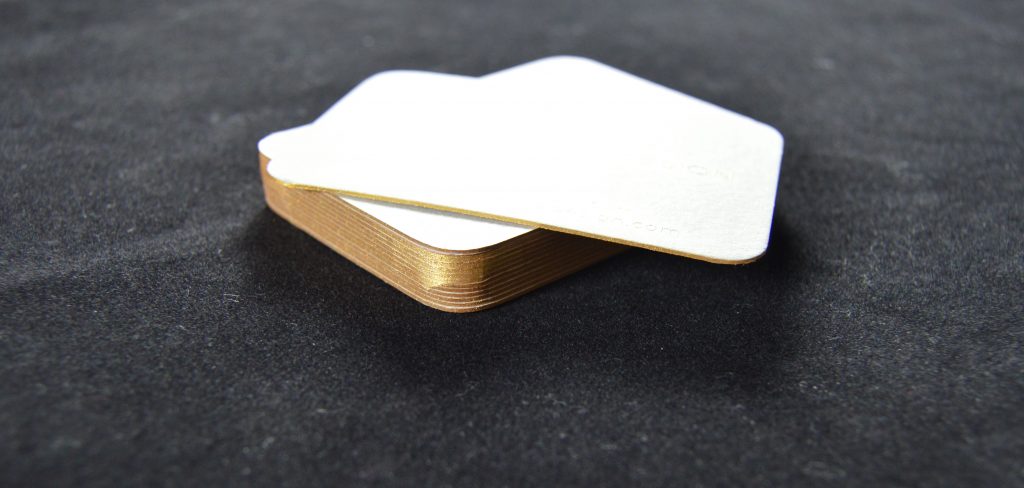
We are proud of the variety of custom printing services that we offer — offset and digital printing, letterpress printing, film lamination, engraving, foil stamping, embossing, edge coloring, foil gilding, custom packaging, die cutting and PUR perfect binding. Customer satisfaction is our number one priority and we will do whatever it takes to get the job done.
our services
What distinguishes us is our commitment to being a full-service printing company in Connecticut, providing a diverse range of services tailored to your unique requirements and budget. Your customization options are limitless, ensuring we meet and exceed your expectations at every turn.